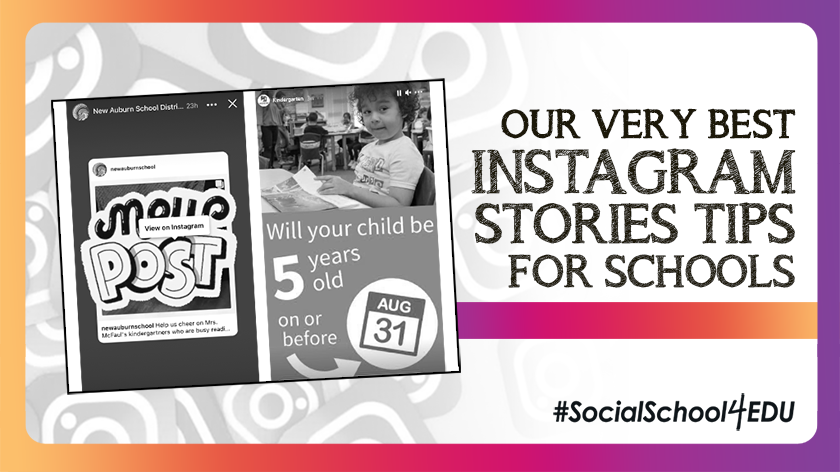
Instagram Stories are a fantastic way to connect, engage, and inform your community about all the wonderful things happening at your school!
Instagram first introduced the Stories feature in 2016 as a response to Snapchat’s rising popularity. This feature quickly became a way to use the platform in new and creative ways. Stories eliminate the pressure for high-quality photos, super polished videos, and the overall “curated” look of Instagram at that time. Users embraced the more casual, “real” feel of Stories, which disappear after 24 hours.
Many people even gravitate towards Stories over the Instagram feed and spend less time scrolling down and more time swiping right through Stories. They are a great way to share in-the-moment snippets, upcoming events and announcements, and fun photos from your organization.
So it’s clear that schools should also embrace this feature. But how do we do it? What are the best practices? I’m here to tell you it’s possible to use Instagram Stories for your school – and it can even be fun!
We’ve already written on this topic and even provided a free guide. But we know that many people learn best through “show and tell” so today’s blog is going to show you the nuts and bolts of Instagram Stories.
Please note: Stories must be shared from your phone; you can’t do them from your computer. I’ll show you some ways to harness the features of your computer programs to enhance your Stories, but the Stories themselves must be posted from your phone (at the time of writing this article!)
How to Share Your Instagram Feed Posts to Stories
Watch a video version of this tip right here!
The easiest way to get started with Instagram Stories is by sharing your feed posts to Stories, increasing the reach and likelihood of those posts being seen by your followers.
First, go to your Instagram account from your phone. Go to a recent post and tap the little airplane icon and then choose “add to story.” Now, your post is converted to a Story! To add some fun, you can include stickers, text, gifs… whatever you want. You can also just stop here and simply share the post.
How to Customize Background Colors on Instagram Stories
Watch a video version of this tip right here!
Now that you’ve mastered sharing your feed posts to your Stories, it’s time to take it one step further. Let’s learn how to customize the background color of that Story.
Once you have your post ready to share in your Story, tap the little squiggly line in the top right-hand corner of your screen. Then, choose the eyedropper that pops up in the lower left-hand corner of your screen. You can move this little eyedropper over any spot on your photo, and it will choose that color for you.
Next, pick up your finger and then put it back down on your screen, anywhere in the background of the Story. After a moment, the background will automatically change to the color you chose. It’s that simple!
This is a great way to make your Stories pop and not just have the auto-selected background color from Instagram.
How to Use Branded Colors on Instagram
Watch a video version of this tip right here!
Are you excited about the ability to change the background colors of your Instagram Stories? What if I told you that it’s possible to use your school brand colors?
Before you begin, you need to save an image to your phone’s camera roll that includes your school colors. This could be your logo, a branded graphic, or anything that includes your exact school colors. I like to organize my images into folders on my phone so I can easily find them.
Then, go to your Instagram profile and tap the “plus” icon at the top of your screen. Choose “Story” and then tap “Create.” Now, go to the “sticker” icon at the top of your screen. Go to the camera option so that your phone’s camera roll pops up. Choose the image you previously saved to your phone and it will pop right into your Story.
Now you may not actually want to use this image in your Story – that’s OK, we’re just using it for its colors. Using the same trick as the last tip, tap the little squiggly line and then the eyedropper tool so you can grab your school color. You can now change the background, add some text – whatever you want!
Once you’re done grabbing all the colors you need, simply drag the photo to the trash can and you can finish creating your custom branded Story.
Three Ways to Add Photos to your Instagram Stories
Watch a video version of this tip right here!
Let’s talk about three fun ways to add photos to your Instagram Stories.
- Go to your Instagram profile and tap the “plus” icon at the top of your screen. Choose “Story” and then look at the bottom left-hand corner of your screen. You’ll see a little photo icon that will take you right to your camera roll on your phone. Choose the photo(s) you want to use and adjust them by pinching/expanding your fingers to resize, move, etc. If you select the little double paper icon in the top right-hand corner of your screen, you can select multiple photos at once.
- The second way to add a photo is to go to the “create” button. Then, choose the sticker icon at the top, tap the little camera option, and your camera roll will pop up for you. You can adjust the photo position and size just like I described in option one.
- The final way to add pictures to your Instagram Stories is through the “layout” option. After you go to create a new Story, you’ll see “layout” along the left side of your screen. This allows you to grab photos from your camera roll – but now, they’re put into a nice grid for you. You can adjust the number of photos using “change grid.” If you select the little double paper icon in the top right-hand corner of your screen, you can select multiple photos at once. You can still take your fingers and pinch/expand the photos to adjust the sizing. When you’re done, hit the checkmark and you can finish up your Story for sharing.
How to Use Instagram Story Templates
Watch a video version of this tip right here!
Once you’ve mastered adding photos to your Instagram Stories, it’s easy to start using templates in your Stories, too!
You first need to create a simple graphic in your favorite design program – I like Canva. The dimensions should be 1080 pixels wide by 1920 pixels high. Canva has tons of free templates you can customize with your school colors and branding. I recommend keeping it simple with just your school colors and maybe a logo. You want this to be a nice background to any text you want to add while in Stories.
Save your graphic to your phone and organize it into a folder so you can easily find it every time. Then, just use the tip above to add the photo to your story – and you’re all set!
These work great for general announcements when you just want to add some quick text or gifs to communicate a message to your community.
How to Easily Create Beautiful Instagram Stories with Custom Graphics
Watch a video version of this tip right here!
If you want your announcements to really pop in Stories, take the time to design your graphics to include all your text and images. This also allows you to use any fonts, photos, and colors you choose. This is a great option if you have something really important to communicate.
Use Canva or your favorite design program to create graphics (remember, they need to be 1080 pixels wide by 1920 pixels high!) that you can easily share right to your Stories, as we showed you in the above tips.
Schools to Follow
If you’re looking for inspiration as you’re getting started with Instagram Stories, these are some awesome schools to follow for ideas:
Ready to just hand off the responsibility to someone else? Student contributors can help bring a whole new perspective and level of creativity to your Instagram Story efforts! This free guide shows you how to choose, train, and empower your student contributors.
I hope you found this blog helpful as you master Instagram Stories for your school! Here at #SocialSchool4EDU, we train your staff to be social media storytellers so you can stand out from other schools, celebrate your students and staff, and reach thousands in your community every day.

