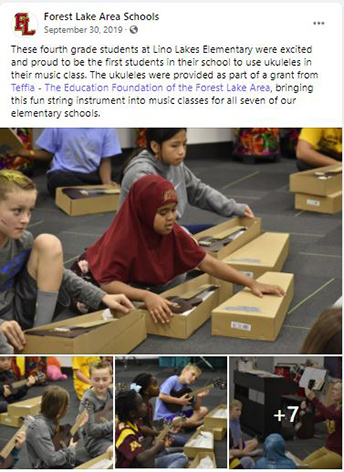
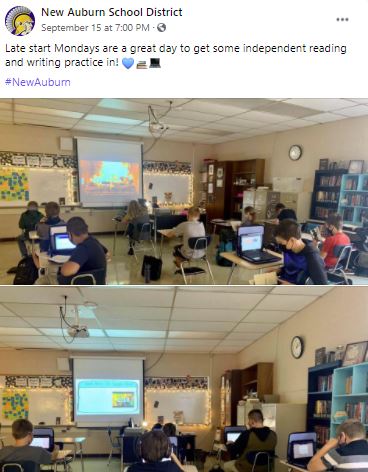
A compelling photo can make or break a social media post.
Check out this quick example – which post are you more likely to click?
A great photo can earn you more mileage than just a single social media post, of course! Eye-catching photos are perfect for your school website, your next print or billboard campaign, and your school newsletter.
I’ll even go so far as to say a good photo can make or break your school communication efforts.
But budgets are tight and you probably can’t afford a professional photoshoot for every season. That’s why it’s critical to build up a photo library of images that you pull from for any post or project.
The following seven tips are from Renae Reedy, Communications Coordinator for Forest Lake Area Schools in Minnesota. Renae led a stellar breakout session at MinnSPRA earlier this year, and she gave us permission to reprint her valuable advice. Thank you, Renae!
Please note – all of these photos and suggestions were taken prior to COVID restrictions. If you are sharing photos right now, make sure to adhere to your current safety measures like masks and social distancing.
Tip 1: Take the Time
Photography is a time-consuming activity, but you should do it anyway. Why? Because having a library of go-to photos will save time in the long run, and help you produce better print and online marketing materials. As an added benefit, you’ll get out into your district’s school sites and make connections with teachers and other staff who are great collaborative partners.
Tip 2: Choose Your Setting
A classroom that is well-managed will provide better photo opportunities, so ask the principal for suggestions. It’s easier to be unobtrusive if you visit the classroom while students are independently working. Be strategic about the day and time that you go (no crazy hat days or pajama parties).
Tip 3: Shoot Specific and Generic
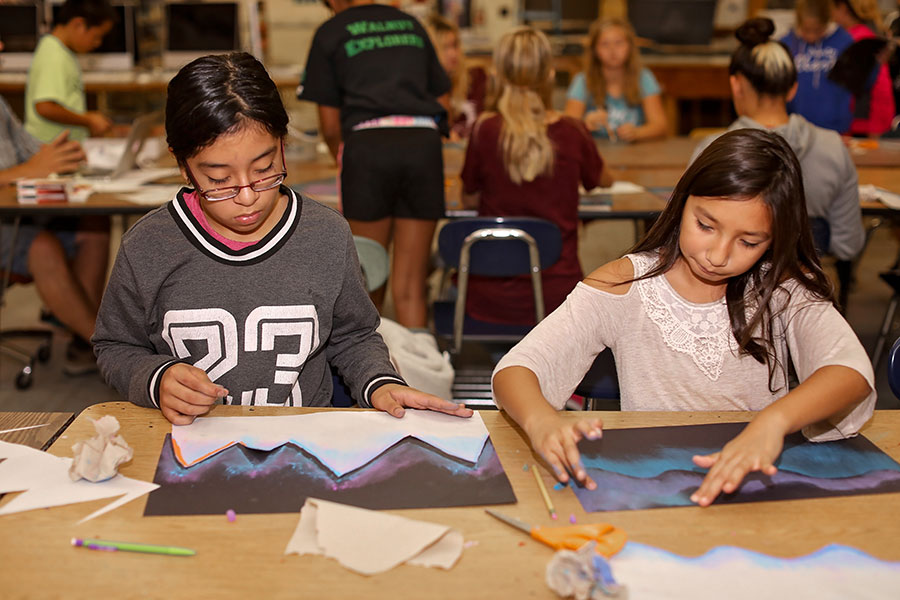
Learning activities happen every day, so even if you stopped by a school to take photos of an award presentation, take a few minutes extra to look around for additional opportunities to get general academic photos (i.e. student at a computer) and more artistic theme photos (i.e. back side of a student raising a hand).

Tip 4: Enlist an Army of iPhones
Make connections with teachers and other school staff (see #1) and be sure that they have an easy system to share photos with you. Some of the best shots come from a teacher who pulled out his/her phone in the moment and snapped a few photos.
Tip 5: Capture Emotion
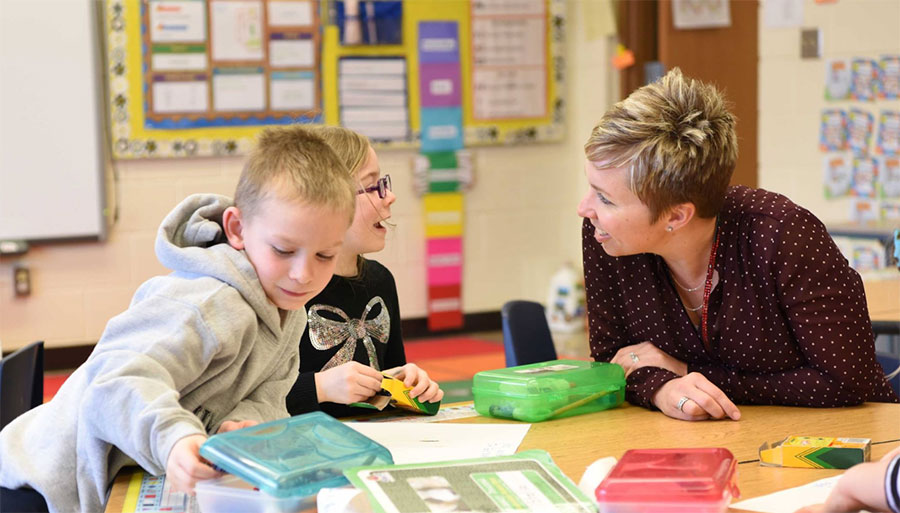
People connect with photos that show authentic emotion, so make sure your photos focus on faces. Observe what’s happening, find the emotion in the room, then take your photos. Use a good zoom lens so that you can get close without being disruptive.
Tip 6: Watch Your Backgrounds
Take note of what’s behind your subject so that it doesn’t detract from the positive nature of your photo. Classrooms are messy places; find an angle with minimal distracting clutter. Watch out for holiday decor, as it will instantly date your photo.
Tip 7: Watch Your Biases
We all want to take photos that we think are visually attractive, and that can often lead us to subconsciously focus on certain types of students over others. Pay attention to who you are including/excluding and make a conscious effort to accurately represent your student population.

Bonus Tips
Don’t save the junk! And make sure you can easily view thumbnails in bulk (don’t use a folder-based category system).
Thanks for your excellent advice, Renae! What other tips would you add to this list? Be sure to comment below. And download this free photo guide for additional advice.
Bonus: You can share this PDF with your staff!

