Let’s face it: Your followers’ social media feeds are crowded. One way to stand out and get more eyeballs on your content is to focus on capturing better images!
In today’s fast-paced world, bringing stories to life on social media requires more than a clever caption. Great photos tell great stories, and today you’re going to learn some tried-and-true tricks.
Know Your Gear & Camera Settings
If you’re lucky enough to have a professional camera for capturing photos at school, take the time to learn its settings and capabilities. Terms like “aperture,” “shutter speed,” and “ISO” should be part of your vocabulary. If you don’t know what I’m talking about, check out this great beginner’s guide! You can also take a photography course or talk to a local professional for advice.

To be honest, most of us are using our smartphones to take photos – and that includes your colleagues, who should be helping capture and submit content for social media. That’s perfectly fine; smartphones can take great photos! (Better than tablets – tell your teachers!)
When using a smartphone to take pictures, play around with “portrait mode,” especially for close-up shots, and use “burst mode” when capturing high-action shots or group photos, so you can find the best shot later. The “live photo” option is also useful when you want to quickly choose the best moment from a particular shot, right on your phone.
Zoom Strategically & Play With Angles
Zoom with your feet, not with your phone! A camera with a great lens can zoom in, of course, but a smartphone photo quickly loses resolution quality when using fingers to zoom.
That also means you might need to get on the floor, get up high, or just get comfortable walking around to snag good photos. There’s a reason you see professional photographers ALL over the place when they’re capturing an event – they’re looking for good angles! Close-ups bring out the details of the subject, while wider angle shots capture the energy of a setting.
To make sure your photos are going to be versatile enough to use on the various social media platforms, think about capturing a horizontal or vertical shot that can easily be cropped square for Instagram. It’s OK to leave some “space” around your subjects in some photos to give yourself this flexibility.
Have you heard of the “rule of thirds”? Divide your frame into a 3×3 grid and try placing the subject of your photo at the intersections of these lines. This can help create more balanced, engaging images. Here is a great article that explains more!
Be Aware of Lighting
We don’t always have control over the time of day that we’re taking pictures, and rarely do we have control over the lighting. But make the best of what you have!
Natural light is best for photography, so if you’re inside, try to take photos near windows with the shades open. Avoid shooting your subjects with their backs to a window unless you’re intentionally trying to create a silhouette.
If you’re shooting outdoors, the golden hours – shortly after sunrise or before sunset – offer the best lighting conditions, while overcast, cloudy days present the most consistent lighting.
When you have no choice but to take pictures under fluorescent lights in a classroom or gym, that’s OK! See if you can practice in the room or gym alone, before people are around, to set the best settings on your phone or camera. You can also fix wonky coloring in editing – more on that in a moment.
Pay Attention to Background & Foreground
Will your subjects have a flagpole sprouting out of their heads? Is there a distracting mess in the corner of the classroom? Pay attention to what’s happening in the background of your photos to save yourself a headache when editing or cropping later on.
Too many classroom photos show more ceiling and floor than people! While it’s OK to leave a little white space for cropping later, you’re better off minimizing the amount of useless foreground and taking a few steps closer to your subject.
When possible, select a simple background that doesn’t distract from what you’re trying to capture. You can also use natural frames – like bookshelves – to create a nice background composition.
Check out this blog for some more tips on things to watch out for in your photos, such as dress code violations:
Capture Emotions
Instead of always posing your subjects, try to capture candid shots to bring out genuine emotions and reactions. These unplanned moments often result in the most impactful photos! Photos of students actively engaged in learning, laughing, questioning, or interacting with others can communicate powerful stories.
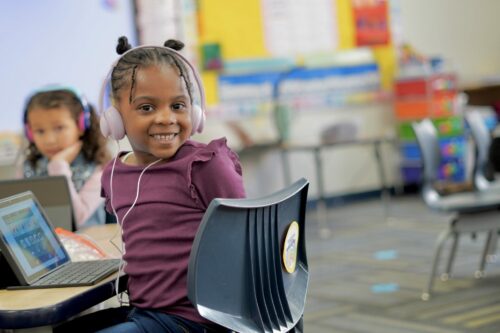
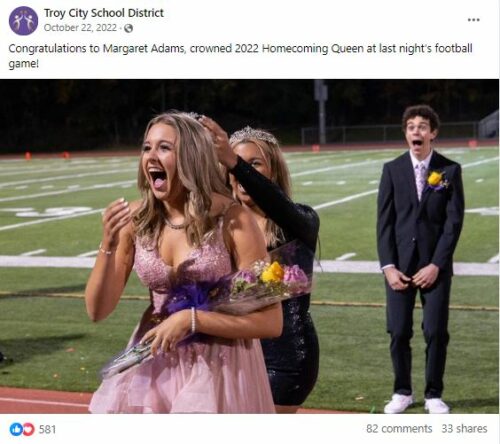 Student faces – as opposed to the backs of their heads – will almost always generate the best engagement on social media. People want to see their kids’ faces! Sometimes a big group shot is necessary, but smaller groups or individuals make for more compelling photos.
All of this means you’ll probably need to take your time, waiting for better shots than the cheesy “smile” photos… but trust me when I say it’s worth it. Capture that big group shot if the teacher wants it, but then stick around and get a few candid photos, too.
One more tip: If you’re shooting in a classroom, take a few pictures that are close to the action, such as a close-up of the student’s hands creating an art project. A photo like that would be great with text over it as a “stock photo”!
Take a LOT of Photos… But Watch Your Biases
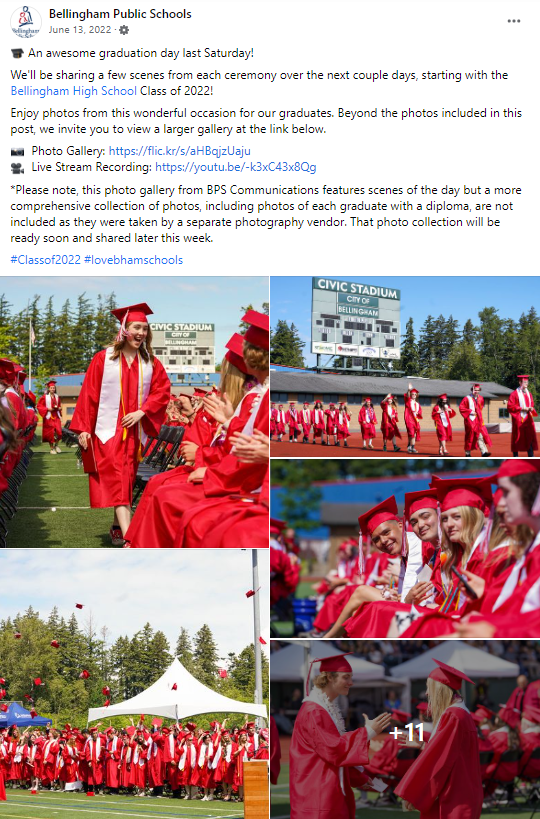 Take a lot of photos… more than you think you’ll need! Some of the best shots are the result of waiting for the right moment. Be patient and observant; you’ll find great opportunities for brilliant images.
Remember, it’s hard to capture a good photo of someone speaking, so you’ll need to take a lot of pictures to make sure you get a flattering shot in this situation. Group shots will always need multiple takes, too, because people tend to shut their eyes, and you’ll need to select the option where everyone looks their best.
As you shoot, watch your biases and be inclusive. We all want to take photos that we think are visually attractive, and that can often lead us to subconsciously focus on certain people over others. Pay attention to who you are including or excluding, and make a conscious effort to accurately represent your population.
And of course, get permissions where needed and ensure that photographing and sharing is done respectfully.
Enlist Help
Students make great photographers! Tap into your yearbook, photography, or journalism students for kids who have a particular interest in this area, and ask them to help you take photos at events or just around the school.
Teachers can also designate a “classroom photographer” (this works well if that student is on the “do not photograph” list) to get them involved.
Take Time to Edit
When you have the time, a little editing can be beneficial. Clean up background noise, add a filter for a consistent “look” (especially for Instagram), and consider adjusting brightness, color balance, contrast, and/or saturation.
The most impactful edit can sometimes just be a good crop. Crop out extra space, give your photo a “rule of thirds,” and you could be good to go.
But please, try to refrain from over-editing. Remember, your main goal is to portray the authentic school environment and experiences! You also don’t have all the time in the world, so give yourself some grace and keep things simple.
Need More Tips?
This free guide has 10 tips that are great for teachers – download it and send it to your colleagues!
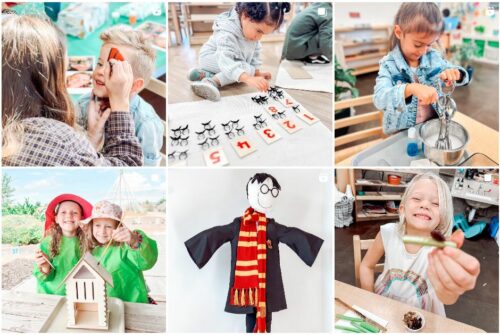
Update your photo library with these must-have photos:
Remember, the magic of photography lies in telling stories. Let your school’s identity shine through your photos – and have fun!!

